One of the highlights of my week was getting to make a couple different batches of cookies. The first set was commissioned by Melissa for her daughter's birthday party with a rose garden theme. HOLY COW, go search Pinterest for vintage rose garden cookies and prepare to feel extremely inadequate. I was equally terrified and extremely eager to try these out.
I was short on time (remember, busy week?) and only managed to snap a few pictures before they went in the delivery box.
 The monogram cookies above were so much fun to make! I separately piped the little roses onto wax paper and let them dry, then attached them to the cookie with a dab of icing. I had made little roses like this before, but this was my first try making the little green leaves. They actually stand up slightly off the cookie! I also spent some time playing around with the green color and learned a lot about what changes the hue in different ways.

More of the large roses! I'm not extremely pleased with the pink bows, but I think I know how to make them look better for next time.
At the same time I was decorating the rose cookies, Carter's baby shower cookies were in the oven. I knew I wanted a blue, gray, and white color scheme for them, and spent some time planning out the designs.


This was my second time playing with sanding sugar, and I've decided that my trial pack of blue was a great investment. Time for a trip to Michael's or Hobby Lobby to pick up some different colors!
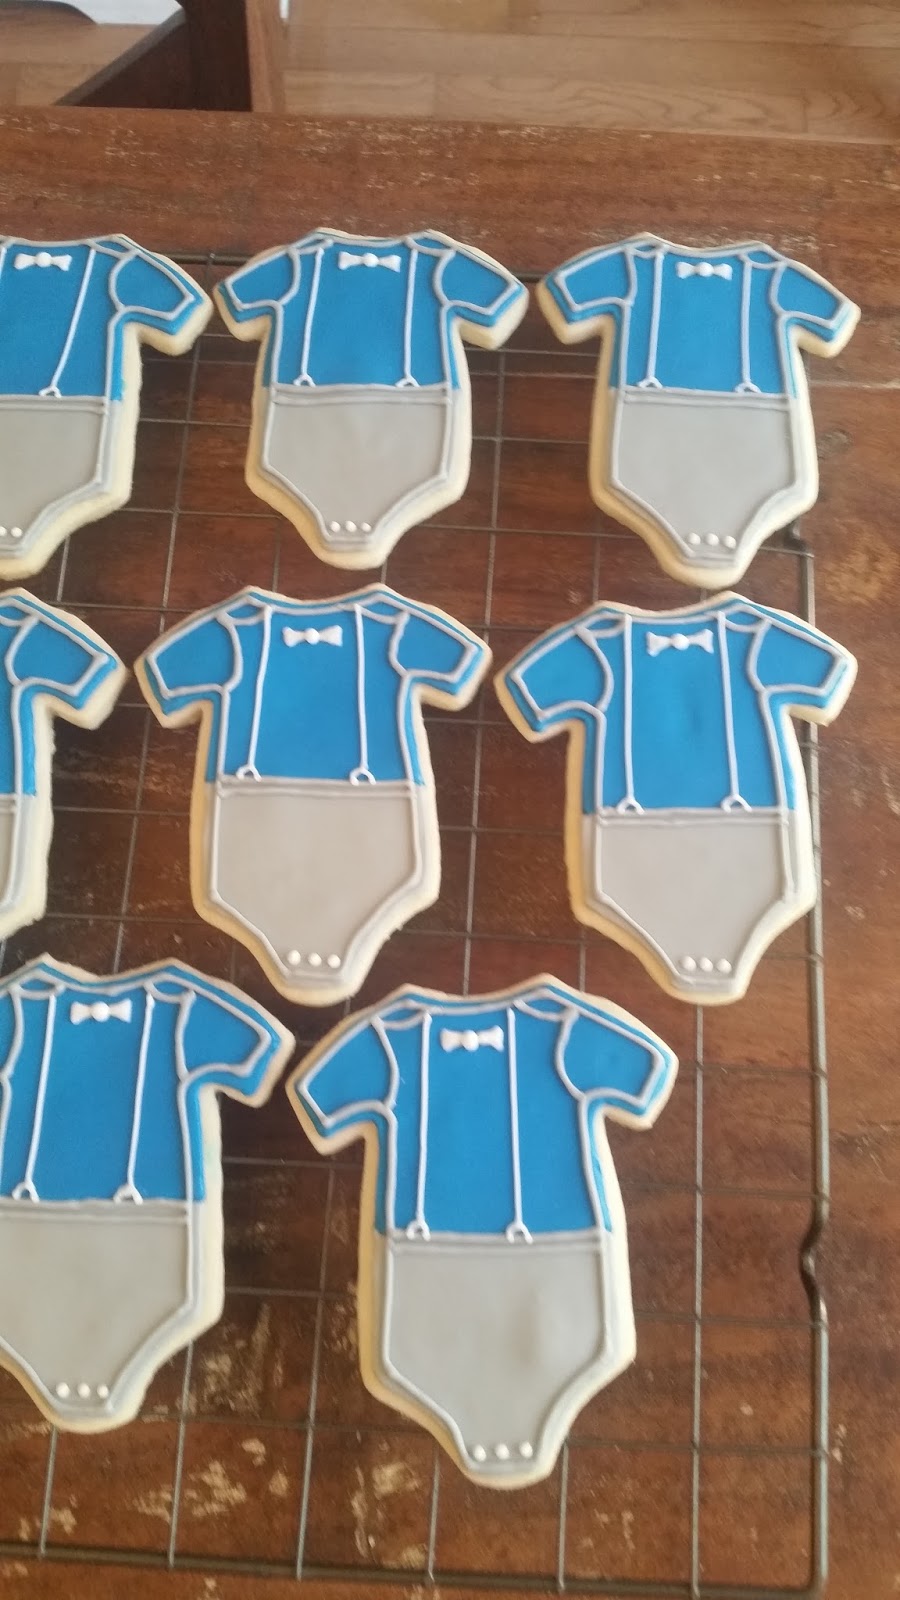
I originally had different design plans for these cute little onesies, but in the end I decided simple was best. Besides, who can resist a baby bowtie?
 Well, the hubby's already headed for bed, so it's just me and Crazy Daisy to finish off this post. If there is something you've always wanted to try, or wondered whether or not you could achieve, I want to encourage you to go for it. Take the first steps towards learning a new skill. Research a new topic that interested you. Borrow a book on a fascinating era of history. God has given us this whole world to explore and discover, along with incredible brains to help us make sense of it all.
Have a great day :)
Rejoice always, pray without ceasing, give thanks in all circumstances; for this is the will of God in Christ Jesus for you. 1 Thessalonians 5:16-18
No comments:
Post a Comment